The countCLOUD Summary Video summarizes the processes below including creating an account, ordering count hours, and submitting counts for processing.
How Do I Order Count Hours Through countCLOUD?
You can purchase count hours as you need them through the countCLOUD Ordering Site with no contracts and no additional fees. Discounts are applied to each order based on the quantity of hours purchased.
Important Note: The email used to purchase counts must match the countCLOUD profile's email for purchased hours to be ported over.
How Can I Be Sure My Video Processing Qualifies for countCLOUD?
If you are uncertain about unique aspects of your video and whether they qualify for countCLOUD, we can review the video and provide guidance.
Email us at help@streetlogic.pro and we will review your video and request for any issues that are unique to the needs of your specific count.
How Do I Make a Labelled Screenshot?
All videos uploaded to countCLOUD must be accompanied by a labelled screenshot. This screenshot notifies our team how to process your count with respect to approach directions. No modifications or alterations will be made to the screenshot once received and we will process the video based upon the directions provided. Please double check all screenshot for accuracy as mistakes may impact the video processing results.
We recommend using the Snipping Tool function if you are a Windows computer. To complete this process:
- Type "Snipping Tool" into your computer search bar and select SNIPPING TOOL.
- Open the video to process and jump ahead to a period where the intersection or roadway can be clearly seen (avoid snipping images at nighttime where approaches are difficult to see).
- Click back into the SNIPPING TOOL and click NEW in the top left corner of the program. this will allow you to drag a square over the video image creating a screenshot.
- Once the screenshot is created use the pen function, provided in the Snipping Tool, to label your approaches and apply a north arrow.
-
FOR VEHICLE COUNTS: The approach lane information in the count sheet should be based on the approach direction as vehicles enter the intersection. Therefore the “NB” approach will be placed on the southern leg of the intersection, the “SB” approach on the northern leg, the “EB” approach on the western leg, and the “WB” approach on the eastern leg. The image below shows an example of a correctly completed screenshot.

-
FOR TRAIL COUNTS: A directional arrow is needed to supplement the approach directions as shown in the image below:

-
FOR VEHICLE COUNTS: The approach lane information in the count sheet should be based on the approach direction as vehicles enter the intersection. Therefore the “NB” approach will be placed on the southern leg of the intersection, the “SB” approach on the northern leg, the “EB” approach on the western leg, and the “WB” approach on the eastern leg. The image below shows an example of a correctly completed screenshot.
- Click FILE then SAVE AS to save your labelled screenshot

How do I Make a Merged and Compressed Video File?
There are multiple processes for creating a merged video file. When processing videos from a countCAM3+ the videos are already compressed. Videos will only need to be joined if the count bridges two-days. The fastest way to do this is through the Video Joiner/Cutter Tool.
If processing videos from a countCAM2 or any device that outputs non-compressed .MP4 files, the countCAM2 Toolbox should be used. This tool also creates a count sheet, which is no longer needed for countCLOUD. However, it does allow for a clean way to provide a labelled screenshot instead of the process described earlier. The files and instructions on installing and using the countCAM Toolbox can be found HERE.
For all other file formats the countCAM3+ process can be followed. If video files are larger than 5GB please compress using a video compression tool, or reach out to help@streetlogic.pro for additional support.
How do I upload my video and labelled Screenshot to countCLOUD for processing?
After you have purchased your count hours from the countCLOUD Ordering Site and have prepared your merged video file and labelled screenshot the following process should be followed to submit a count for processing:
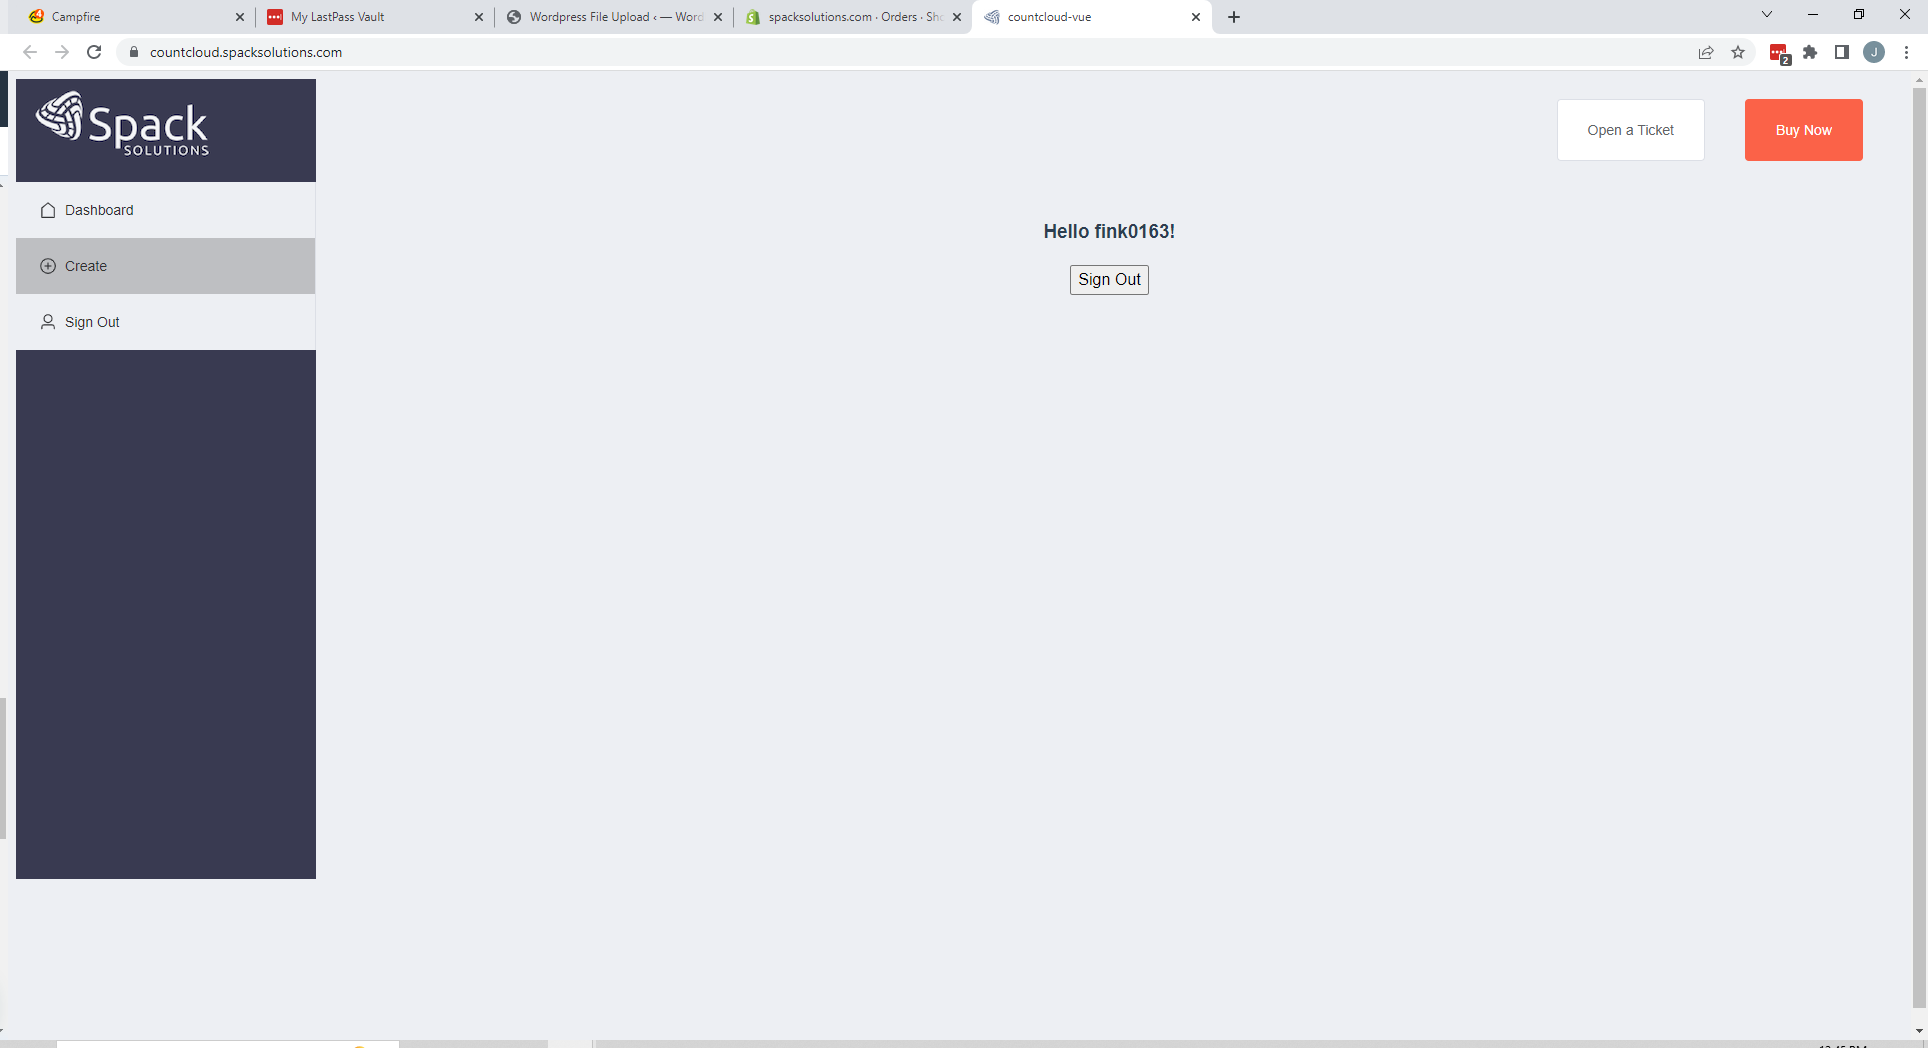
- Navigate to countCLOUD.streetlogic.pro and log into your profile
- If this is your first time accessing the site create a user profile.
- Please note that the email used in the user profile must match the email used to purchase count hours in order for hours to be added to your account.
- Click CREATE, on the left of the screen to access the count creation page
- Select the duration, classification schema, and quantity of counts to create.
- The cost per count, and cost of all counts, in processing hours, will be shown under your available hours.
- Click CREATE COUNT to finalize the selection.
- Navigate to the DASHBOARD page to access your newly generated count
- Your Completed and In-Process counts will also be shown on this page.
- Find the Available count/counts that match the duration and classification breakdown needed and click on the COUNT ID number to open the count submittal page.
- If submitting multiple counts hold CTRL while clicking to open a new tab in your web browser. This will allow multiple submittals to be completed at once as you cannot leave the upload page until the video file and labelled screenshot have completed uploading.
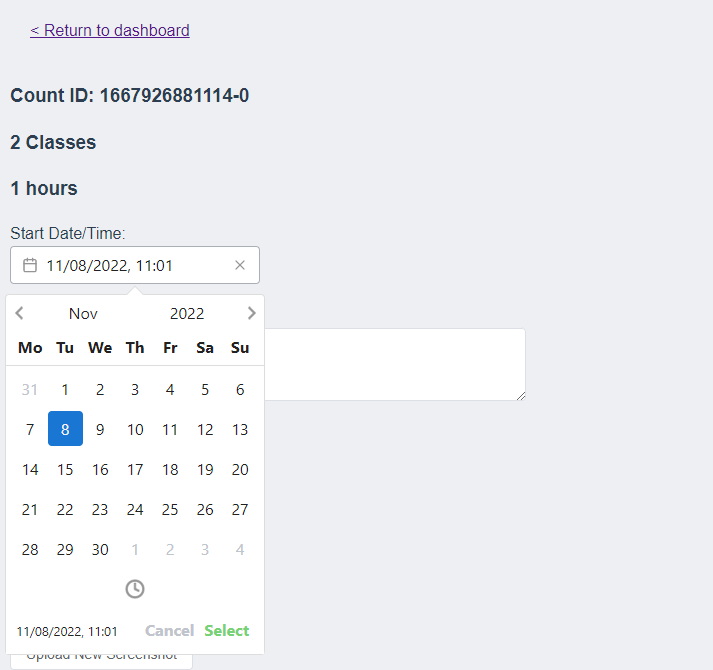
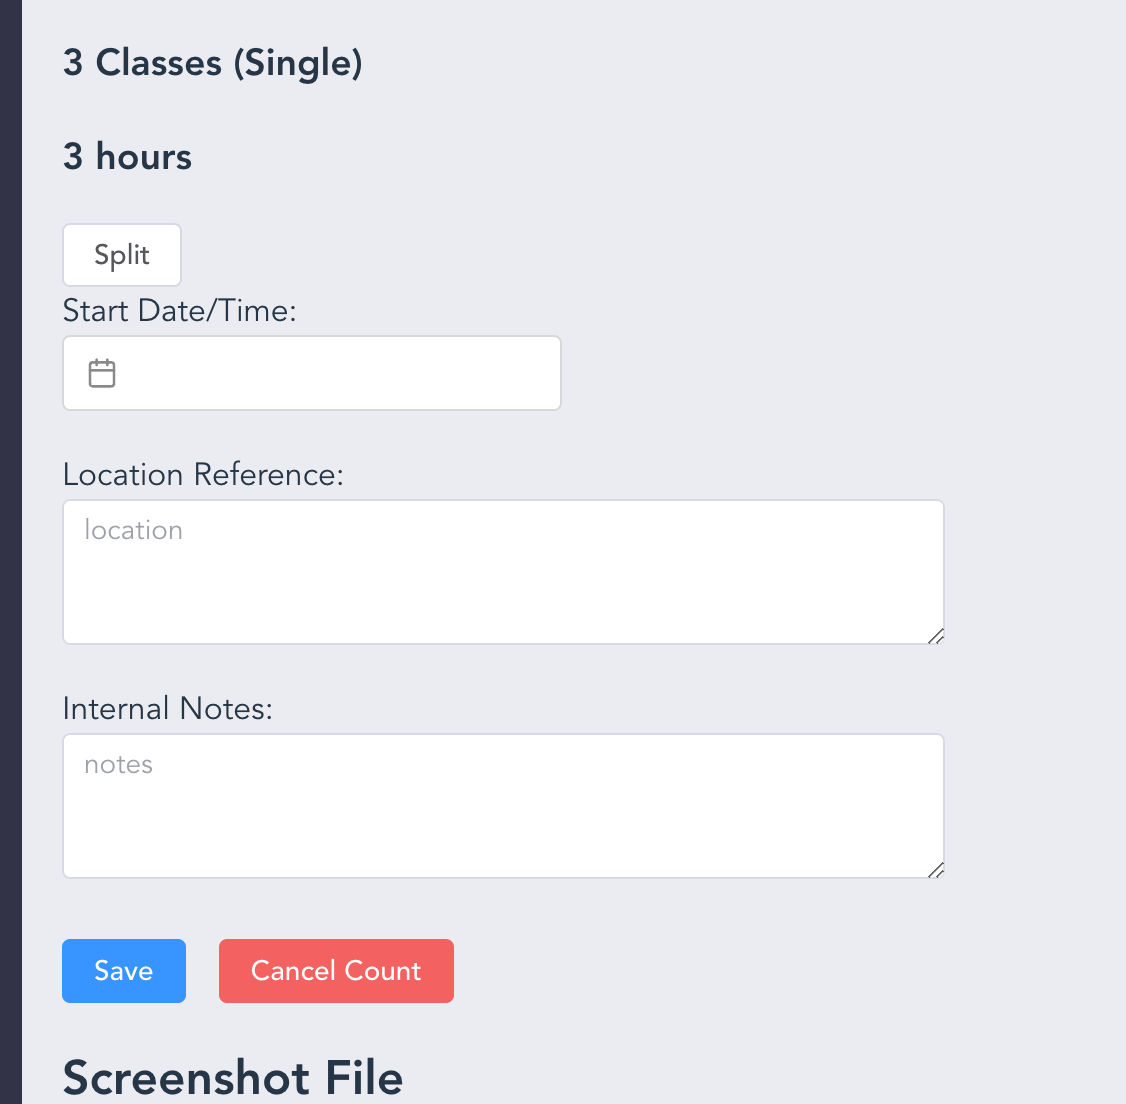
- Enter the Start Date/time using the dropdown calendar/clock. If multiple start/stop periods will be used click the SPLIT button which will allow for up to three unique start date/times to be input. The total duration of the individual count periods must add up to the total count duration to submit for processing.
-
- Enter a location Reference such as an intersection/roadway name, location ID, etc.
- Your completed count results will use the location reference as the file name
- Click SAVE
- Click CHOOSE FILE under the Screenshot File header and select and submit the labelled screenshot file
- Click CHOOSE FILE under the Video File header and select and submit the video file.
- Once both files have been received a notification will pop up in the top right corner of the dashboard and the count status will move from Available to In-Process.

-png.png)
Your results will be completed within 3 business days. The count status will change from In-Process to Complete once your data is available.
To download your completed data click back into the count and click DOWNLOAD REPORT located at the bottom of the page.
If an error has been noted with a count the count status will move from In-Process to Error. Click into an Error status count to view the issue. This will likely be a video file and screenshot not matching, or a screenshot not having labels. Once you reupload the corrected file the count will return to In-Process.